Showing posts with label dollhouse miniature. Show all posts

Monday, May 11, 2020

Mini Toasts

First off, not sure Im liking this new blogger update. Ill see how it goes though. Change is hard and I know Ill have to relearn everything multiple times before it sticks.


Alright, we are weeks into this pandemic lockdown and Ive finally spent some time making minis. I'm lucky that Im in California. The weather has been great and Alex and I have been able to spend a lot of time outside. BUT, it is getting a little boring. So I figured, whats not boring is sitting silently for about 10 hours alone squinting at a scalpel and clay. 

This is my first go at mini toasts and Im pretty happy with them. Of course there is always room for improvement. But also who cares, these just make it onto my fridge and my friends get them as gifts whether they want them or not. Making toast is very similar to making pizza.  I even used some left over "salmon", "lemon" and "orange" from other mini projects. So all in all, I have no idea why these took so long. 

Making mini toppings, including avocado. 

I did make avocado for the first time. I found a tutorial online that I followed. I made this without a pasta roller (Im not accumulating more crap for this weird hobby!) and it worked out okay. It took a few tries to get the right avocado shape. I ended up trashing the ones in the above pic. They were not quite pear shaped enough or thin enough. 

I also made a banana cane for the first time. After watching a few tutorials online, all by baby voiced women with inexplicably long fake nails, I decided just to make my own cane design up (see below). I mixed in a bit of translucent clay with some banana colors and huzzah a cane! Looks crappy big, but when you roll it super thin, it looks great. 
Mini toast components

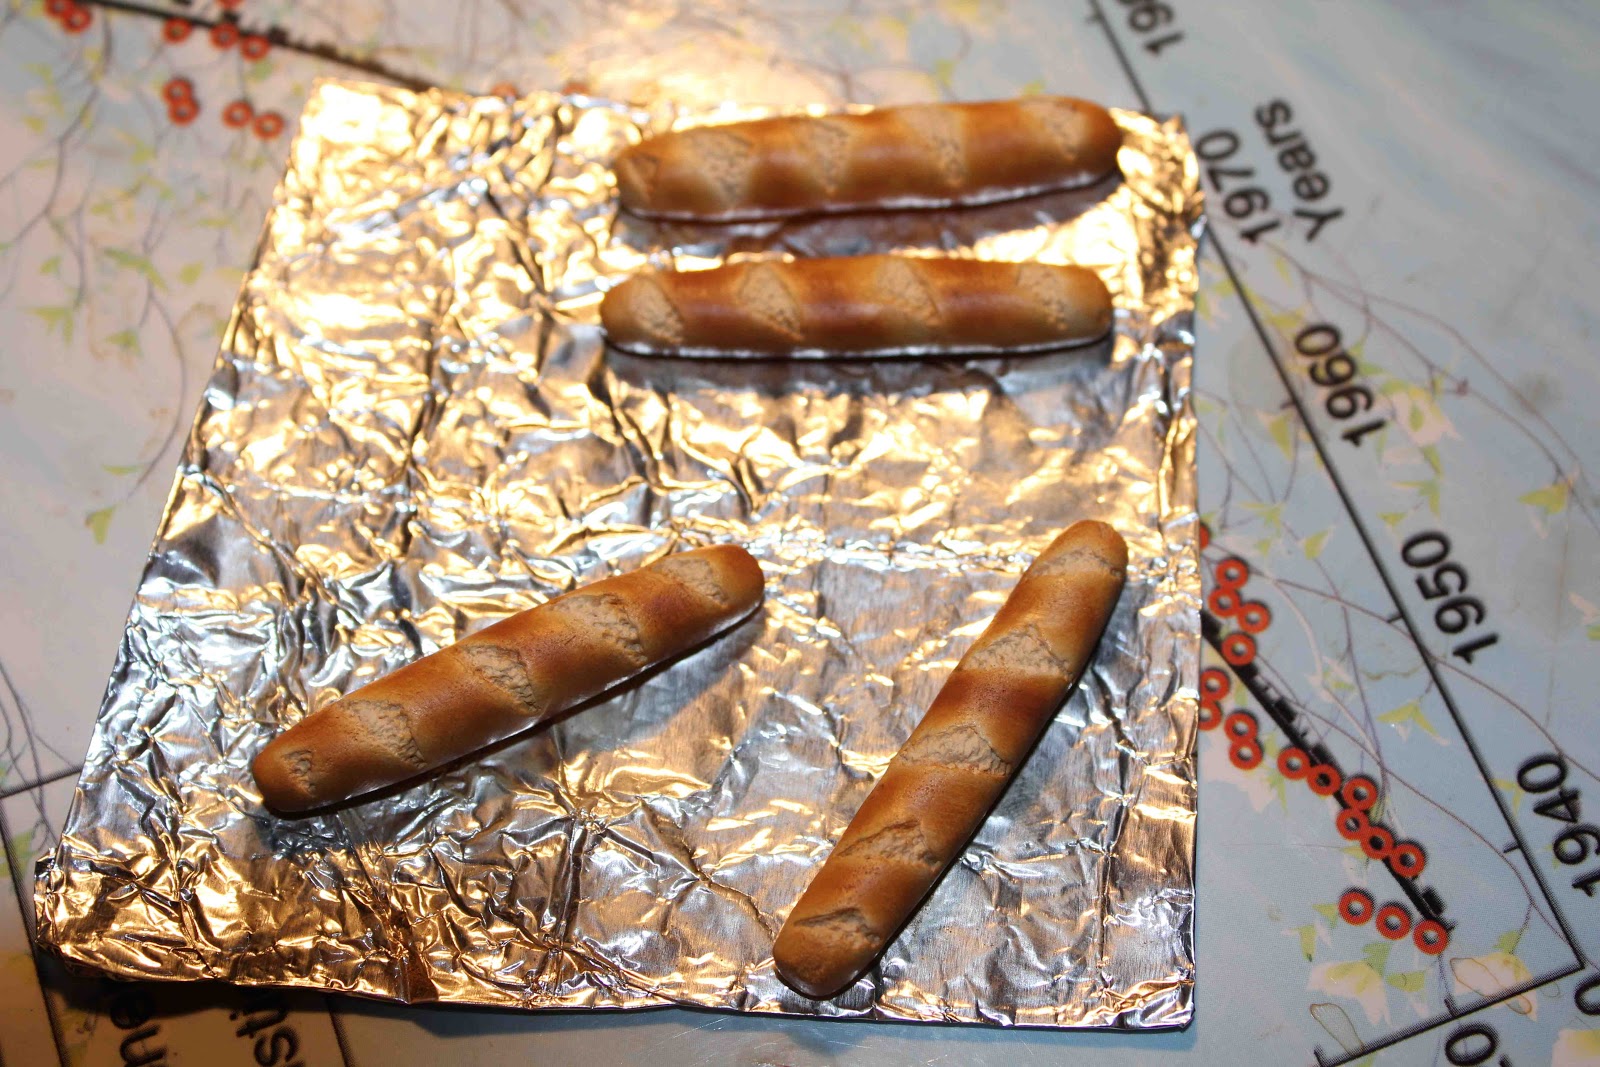
I think Ill give toasts another go. Im still trying to figure out the texture of the toast. I textured them like cake, it took forever, I ended up covering up most of the texturing, and Im not super happy with the results...sigh. And like usual I made the toasty bits and crust with colored chalk (see previous post about bread). 

mini toasts

 I really like the nutella toasts, and they were the easiest to make. So I will make more of those in the near future. Also I want to make a few toasts with eggs on them. 

Miniature polymer clay toasts

Monday, May 6, 2019

Vanilla cake with chocolate frosting and orange curd (mini)

Miniature vanilla cake with orange curd and chocolate frosting
This weekend I made two mini cakes. Its been a few years since I made a mini cake. I think these turned out okay though.  Here are my step by step photos.
Brushing chalk on the cake layers to give them a cooked look. Yeah, Im not sure this is a necessary step, unless you do a naked cake. 
1. miz translucent, white and a cream colour together. Then texture with a toothbrush and dust with brown chalk (to give the look of being cooked)

2. Cut out some thinner brown rounds of the same size and some even thinner orange+translucent rounds.
3. Stack them up, and put the cake in the fridge to firm it up. When you cut into it you want it to be cold and firm so that it does not mush together when you cut it.

4. Cut out a slice and be sure to cut directly down (not on a slant).
5. Texture the cake layers (not the chocolate or orange layers). This is the worst part of the whole process. I use the tip of my scalpel to do the fluffing, others use a pin.
6. Frost the cake. The frosting is made by combining brown clay with liquid translucent clay. It will take about 10min of stirring/mushing to blend the two together.
Making a cake board. Chocolate frosting (bottom left) and chocolate bars (bottom right)
7. Finish decorating the cake. I made some orange slices from an old cane (tutorial). Make sure to texture each orange slice. I use a pin and make small indents in each segments. This way it catches the light much better after its been glazed and it looks more real. I also made a few chocolate bars for the cake "board".
Miniature food fridge magnets on my fridge right now. 

Tuesday, April 16, 2019

Making Mini Sushi (octopus and avocado/salmon rolls)

Miniature polymer clay sushi
Okay so I am done with mini pizzas (for now) and I have moved onto a past favorite, mini sushi. I did not do anything too complicated. I made octopus and avocado/salmon rolls. This is the first time I have put "salmon" on top of a sushi roll cane, and I'm really liking how it turned out. Again, these took forever! I worked on them for three nights after work. Hopefully next time its a bit faster, otherwise its going to take me five years to make enough junk for the craft fair.


Okay, so, maying its a bit weird putting orange and lime on a sushi platter, but I ran out of ideas and has some laying around. What is sushi served with anyway?

To make the mini octopus I made a 'suckers' cane with white+translucent in the middle, translucent+ maroon+red middle + maroon+red outer. Then I rolled the cane really really thin. I cut off tiny pieces and stuck two rows on top of a white+translucent log that has a thin layer of maroon+red on top. Then, finally, I use a pin and I push in all of the "suckers" and cut off some sushi sized slices.

Making mini octopus

The sushi rolls were done the usual way (First Sushi Blog), but this time I really fluffed up the rice after I cut thee cane.

salmon roll canes in the making. 


mini sushi
The only think left to do is stick on a few magnets.


Next up is mini cakes. I think Ill make some citrus cake platters and maybe a confetti cake.


Wednesday, November 7, 2012

Miniature Baguette Keychain


Yesterday I made a miniature baguette. This must be the most useless hobby. Here I am, a poor hungry grad student, and I am making fake miniature food. Anyway, I think the bread is looking good. Of course it could always be better.


To make these useless things you will need:
  • white, translucent and beige polymer clay.** EDIT (no beige..just white and trans..looks much better)
  • oil free pastels (yellows, browns ***EDIT and white for flour dusting)
  • knife, toothpick and paintbrush
Clay is usually about $3/packet (here in Canada), and at an art store you can pick up pastels for about $1 a piece. I had a hard time finding good oil free pastels. With these supplies you could easily make 30-50 baguettes...

 STEP 1: First mix the clay together on the math bio text book you only reference on occasion. I use about 1:1:1 ratios. That is a lie, I just use whatever.


 STEP 2: Shape the clay into baguettes. Make little triangles with the toothpick. 


 STEP 3: mix some pastel together to make a bread color. You need yellow or it will not come out looking nice.


 Take a paintbrush and brush the pastel (its more like colored chalk) onto the clay. Leave the triangles color free.


 STEP 4: bake for about 30min. If you want to make a key chain insert a ring before baking.


LinkWithin

Related Posts Plugin for WordPress, Blogger...